Service
From the beginning, Vectoflow has been working with leading R&D institutes and universities in Europe and around the world to stay ahead technologically in instrumentation and measurement applications and to push existing boundaries. Our goal is to develop innovative solutions to provide superior technologies to our customers.
Calibration

- Speed: 1m/s to Mach 1.2
- Flow angle: +/- 160° yaw and +/- 180° pitch
- Crosshead positioning accuracy: 0.05
- Pressure measurement: accuracy 0.05% FS, pressure range adapted to calibration speed
- Calibration certificate is supplied
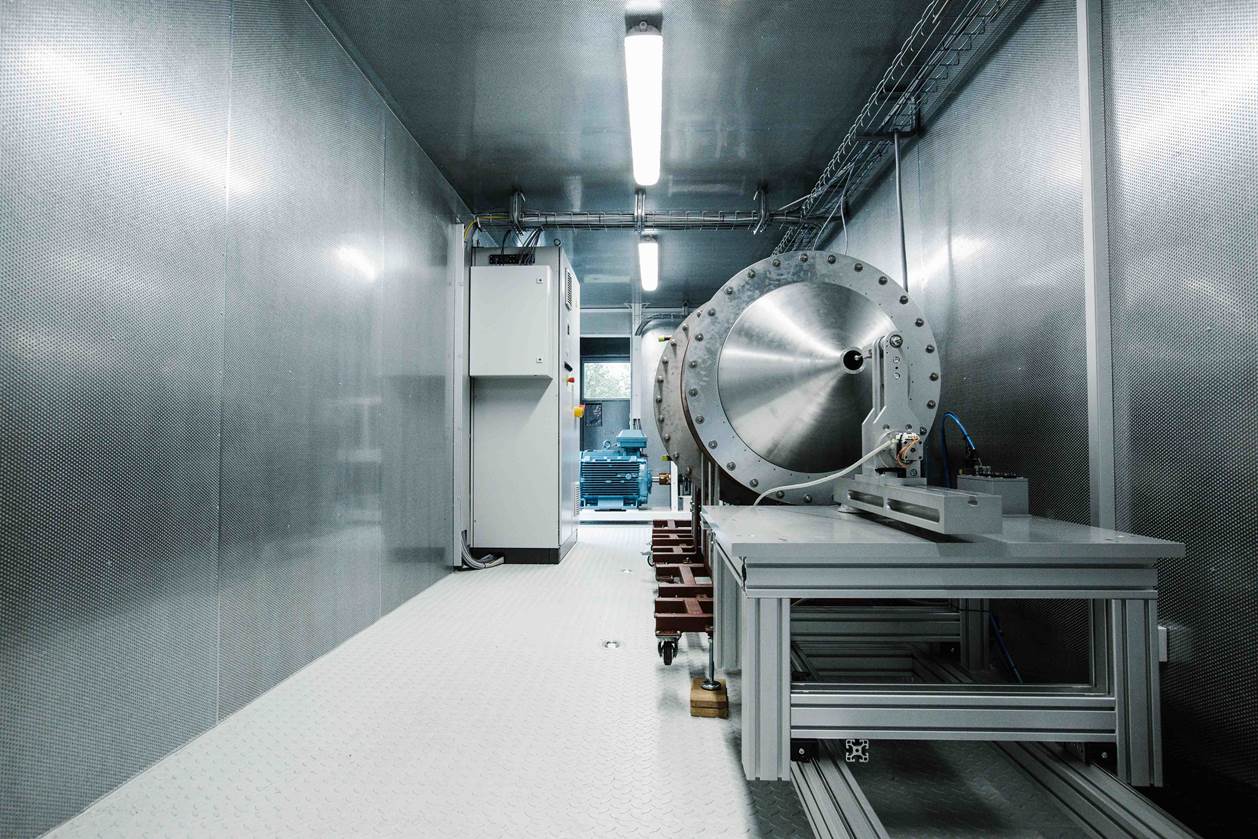
For a flow probe to achieve its measurement accuracy, it must be calibrated. Vectoflow has its own wind tunnel for this purpose.
A prerequisite for reliable measurement results is professional calibration of the probes. Calibration defines the relationship between applied pressure and measured velocity. For this purpose, the probe is held in a known flow field generated by a wind tunnel. By rotating and changing the angle of attack of the probe, the pressures at different measuring points are determined. From these, the calibration factors of the probe can be calculated. If the probes are subsequently held in an unknown flow field, the measured pressure and the previously determined calibration factors can be used to infer the unknown velocity of this flow.
The basis of any calibration is the best possible free jet – a constant, homogeneous air flow with low turbulence. A 90 kW asynchronous motor drives 2 centrifugal compressors via a belt drive. The compressed air is passed through several screens and rectifiers in a stilling chamber to homogenize it. Various nozzles with a special geometry optimized for low pressure loss re-accelerate the compressed air. This allows speeds between 1 m/s and Mach 1.2 to be generated. The probes are positioned by a 2-axis crosshead (roll and yaw angle) to an accuracy of 0.05° and thus calibrated within the speed and angle range defined by the customer.
